Product Evals in Three Steps (That You'll Actually Do)

The eval system that actually catches problems before users do
About eight months into a clinical AI build, a product manager asked me a simple question: "How do we know the new prompt is better than the old one?"
I had an answer ready. Automated evals, green across the board. Pass rate up three points. I said it with confidence.
Then she asked a follow-up: "How does the evaluator define better?"
I didn't have a good answer. Our LLM judge was scoring outputs on a 1-to-5 rubric that an engineer had written in an afternoon. Nobody had checked whether its scores correlated with what a clinician would actually say. We had a number. We had no idea if the number meant anything.
That is the moment I started taking eval methodology seriously — not just having evals, but knowing whether the evals themselves were trustworthy. The three-step framework I landed on is the most practical version of eval-driven development I've found. It's not elegant. It's not fast to get started. But it's rigorous, and in healthcare AI, rigorous is the only standard that matters.
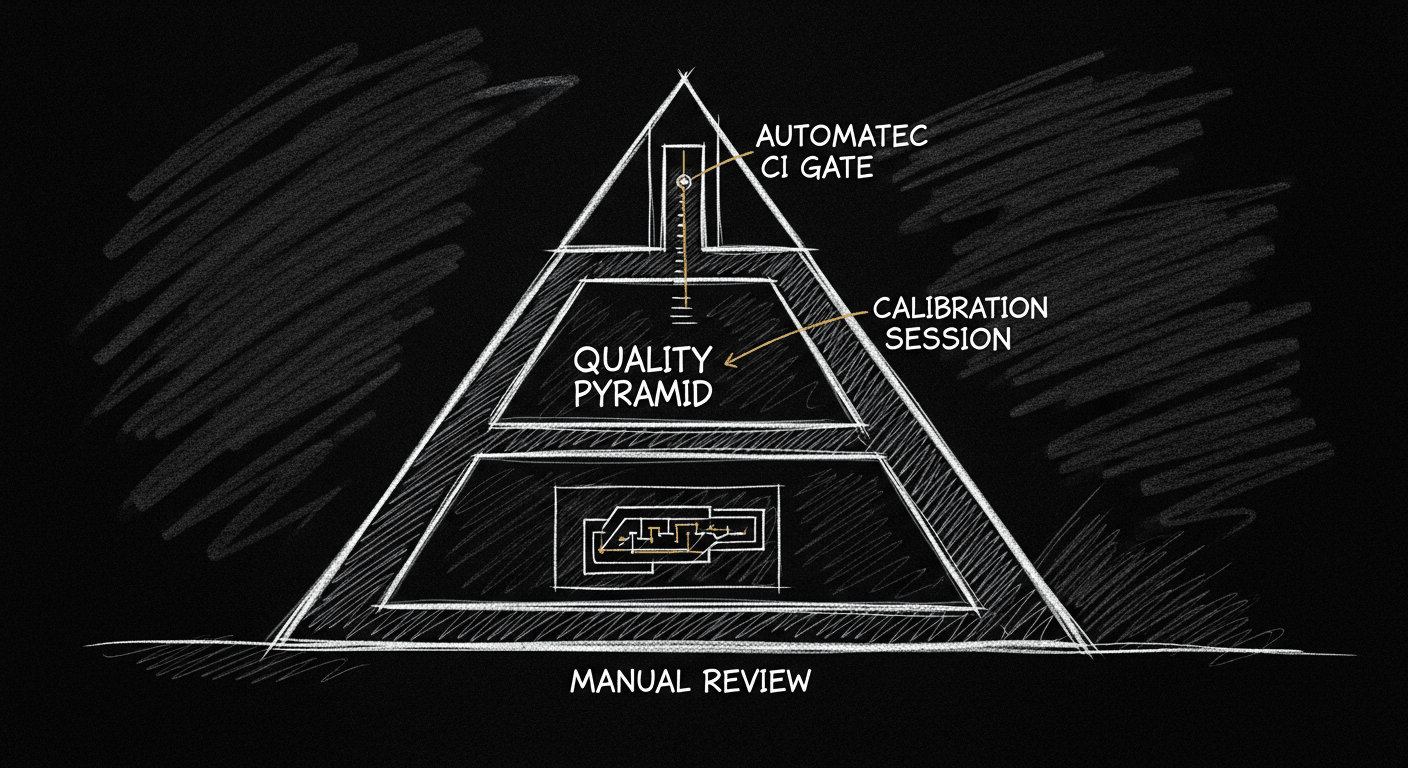
Why Establish Criteria Before You Build
The common approach is to ship first and evaluate later. Build the feature, see if users complain, refine from there. In lower-stakes domains this is annoying but survivable. In clinical AI it is genuinely dangerous.
The discipline that actually works is the reverse: define what success looks like before you write a line of implementation code. Not a vague definition — a precise one. "The summary must include all medications from the source document with correct dosages and administration routes." That is a criterion. "The summary should be complete" is not.
This sounds obvious. Almost nobody does it. The pressure to move fast, to ship something and iterate, is real. But when you define success criteria afterward, you define them around what your system already does. You rationalize rather than evaluate. The criteria become a formality instead of a standard.
Set the criteria first. Then build to them.
Step 1: Label a Small Dataset
The first concrete step is building a labeled dataset. Small is fine — 50 to 150 examples is enough to start. The important part is not the volume. It's the quality of the labeling.
Most teams cut corners here: they treat labeling as a task to delegate or to rush through. They hand it to whoever has time, skip the calibration session, and end up with labels that reflect individual annotator intuitions rather than a shared, principled definition of quality.
The process that actually works:
Pick your labeling format before you start. Binary pass/fail, not scored scales. "Does this output meet the criterion or not?" is a question you can answer consistently. "Rate quality from 1 to 5" introduces subjectivity at every point on the scale and makes disagreement impossible to resolve. Binary forced-choice eliminates the ambiguity.
Calibrate before you label at scale. Have two annotators label the same 20 examples independently, then compare. Where they disagree, talk it out — not to reach a compromise, but to identify which person's reasoning is more consistent with the criterion. The goal of calibration is to surface ambiguity in the criterion itself so you can sharpen it before you label 150 examples under a definition that doesn't hold up.
Name the person whose judgment is ground truth. In healthcare AI, this is a clinician. Not a product manager, not an engineer, not someone who used to work adjacent to medicine. The domain expert. Their judgment ends the conversation when there is a dispute. Without this, you get quality-by-committee — endless debates, rubrics designed to accommodate everyone, labels that satisfy nobody.
Getting clinical consensus on what "good" looks like is the hardest part of Step 1. Physicians have strong and divergent intuitions about documentation. What one attending considers a complete summary, another would call dangerously thin. You don't resolve that by averaging their opinions. You resolve it by picking the person whose standard the product needs to meet and calibrating the rest of the labeling process around them.
Don't rush this step. The labeled dataset is the foundation of everything that follows. Bad labels propagate forward and corrupt every measurement you make downstream.
Step 2: Align Your LLM Evaluator to Human Judgment
Once you have a labeled dataset, the next step is building an automated evaluator that correlates with it.
The trap is skipping from Step 1 to automation too fast. You hand the labeling criterion to an LLM, ask it to score outputs against that criterion, and assume the LLM's judgment tracks your human annotators. It usually doesn't, not without calibration.
The calibration process:
Run your LLM evaluator against the labeled dataset. For each example, record what the evaluator calls a pass or fail, then compare against the human label. Compute agreement rate. Compute precision and recall — how often does the evaluator catch real failures, and how often does it flag false positives?
Iterate the evaluator prompt until agreement is high. This is where most teams give up. It takes more examples than expected — typically 100 or more labeled pairs — to surface the systematic disagreements between LLM judgment and human judgment, and more iteration than expected to close them. The LLM evaluator will have blind spots. It will over-weight surface features like length and formatting. It will under-weight domain-specific correctness criteria that require clinical knowledge to apply. You fix these by revising the evaluator prompt based on the specific cases where it disagrees with the human label.
Target concrete calibration thresholds. Agreement in the high eighties is a reasonable bar for initial deployment. Below that, you're running an automated system whose outputs don't reliably reflect what your domain expert would say. That's not an eval — it's noise dressed up as measurement.
The investment in this step is the reason most teams skip it. Calibrating an LLM evaluator to human judgment is not an afternoon of work. It requires actual labeled data, actual comparison runs, and actual prompt iteration. But this is also the step that turns an automated evaluator from a number generator into a tool you can trust. Everything in Step 3 depends on it.
Step 3: Iterate Configs Against the Evaluation Harness
With a calibrated evaluator in place, you can finally do what eval-driven development is actually about: changing things and measuring the impact.
This is where the investment pays back. Every configuration change — new model, revised prompt, modified retrieval logic, different chunking strategy — gets tested against the eval harness before it ships. You don't guess whether a change is an improvement. You run it and compare pass rates.
The workflow:
Treat your eval harness as a CI gate. Just as a test suite blocks a PR that breaks existing functionality, your eval harness should block a change that degrades quality. Automate the comparison. If a PR reduces pass rate on safety-critical evaluators, it doesn't merge until you understand why and make an explicit decision about whether the tradeoff is acceptable.
Track metrics over time, not just point-in-time. A snapshot pass rate is less informative than a trend. If you're at 88% today, what was it three weeks ago? After the last prompt change? Trend data tells you whether you're improving, drifting, or stable. It's also how you catch silent regressions — cases where nothing obviously broke but quality is slowly eroding.
Separate evaluator types by criticality. Not all evaluators are equal. A safety-critical evaluator — one that checks for dangerous omissions or factually incorrect clinical content — should have near-100% pass rate as a hard requirement. A style or coverage evaluator might have more tolerance for failures. Conflating these into a single aggregate metric hides the distinction. A product that scores 85% across all evaluators might be failing 15% of its safety checks. That is unacceptable. Or it might be failing 15% of style checks with a 99% safety pass rate. That is very different. Separate them.
The payoff of this step is iteration velocity. Once you have a reliable harness, you can run experiments confidently. You stop being afraid of making changes because you know you'll catch regressions. You stop having arguments about whether a change improved quality because you have a measurement system that answers the question directly.
Common Mistakes
Scoring scales instead of binary labels. Every 1-to-5 rubric I've seen in practice introduces more noise than signal. The difference between a 3 and a 4 is not a property of the output — it's a property of the annotator's mood that day. Binary pass/fail forces you to define the criterion precisely enough to answer a yes-or-no question. That precision is the point.
Skipping calibration and hoping the LLM gets it. LLM evaluators that haven't been calibrated against human labels are confidence theater. They produce plausible numbers that may or may not correspond to what a domain expert would say. If you haven't checked, you don't know. And "I haven't checked" is not an acceptable state in healthcare.
Building evals for hypothetical failure modes. Teams write evaluators for the failures they imagine rather than the failures they observe. The discipline is to label real outputs, do error analysis on actual failures, and build evaluators for the failure modes that actually appear at non-trivial frequency. Your worst-case scenario is not always your most common failure mode.
Treating launch as the finish line. The eval harness is not a pre-ship checklist. It's a production system. Inputs drift. Model providers update underlying models. Your product's user base shifts. Any of these can degrade quality in ways your existing evaluators won't catch unless you keep running them and keep updating them when new failure modes emerge.
The three steps are not complicated. They're just more work than most teams want to do before they feel like they have something. But the alternative — shipping AI features with no reliable way to know if they're working — is not a shortcut. It's a debt that comes due at the worst possible time.
Build the criteria first. Label the data. Calibrate the evaluator. Then iterate.
That is the full loop. Run it before you ship anything that matters.